Step 7: Testing The Display
We haven't installed the battery pack yet, so we're not going to screw in the LCD just yet. Let's mount it to the socket real quick to make sure we didn't break anything.
Instructions
-
Power-on test. Make sure the green light comes on. If you get past this stage, you're in great shape.

-
Power OFF your LameStation.
-
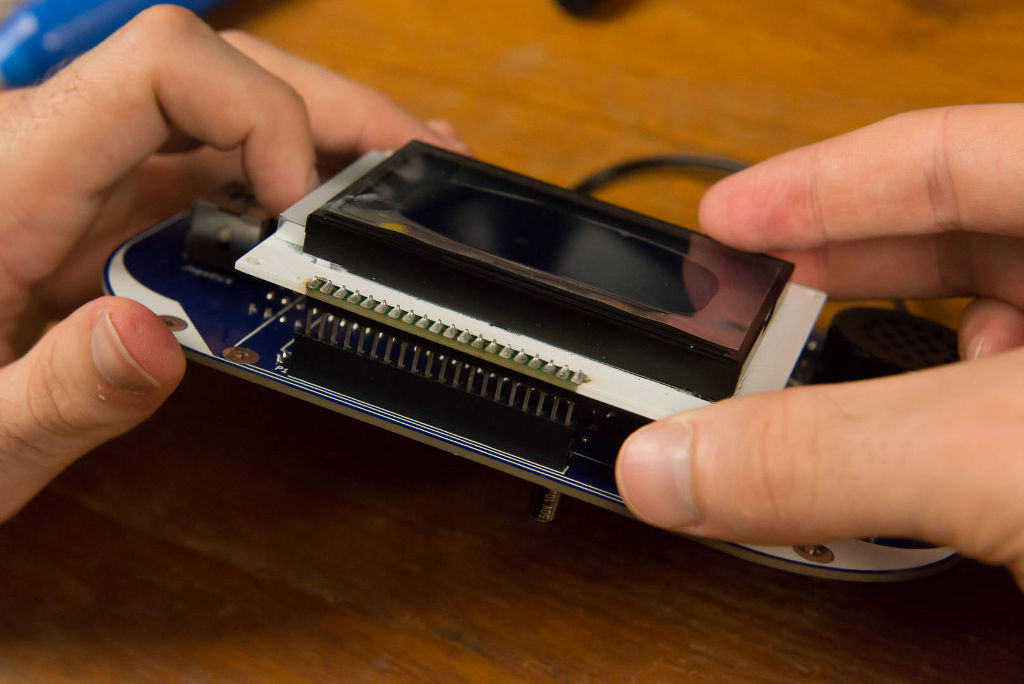
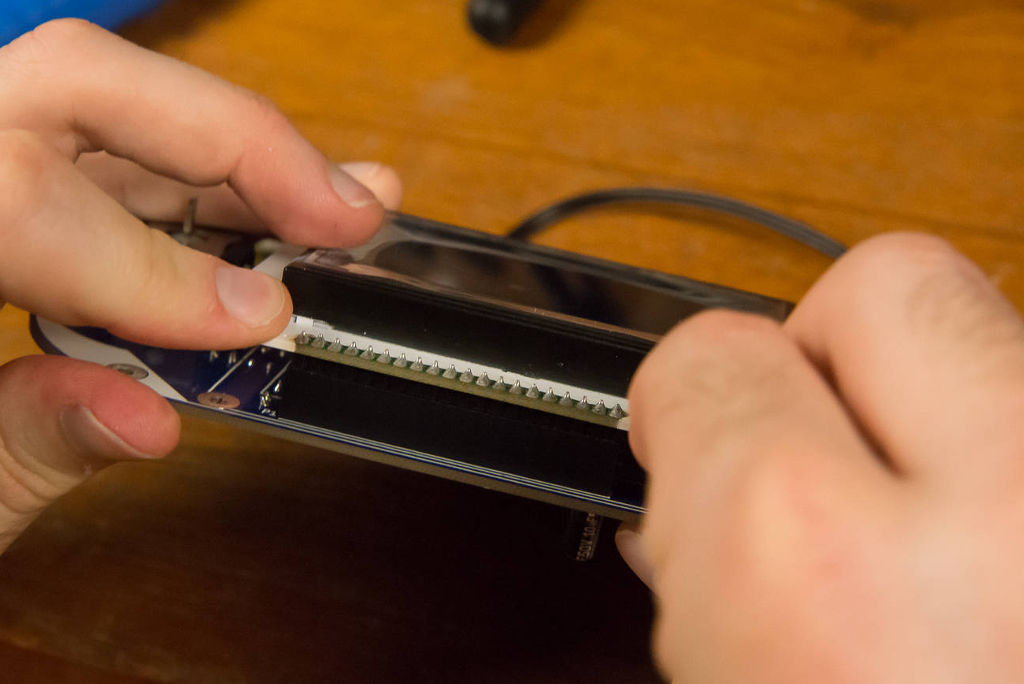
Line up the pins on the LCD with the P1 socket installed previously.
-
Press the LCD down to seat it temporary. Don't worry about securing it; this is just for test.
-
Plug in the LCD and do another power-on test. You should see the backlight come on.

-
Play with the LCD contrast knob. You should see the pixels on the screen vary smoothly from black to white.

-
Power OFF your LameStation once again, then install the Propeller chip and LM386 chip back onto the board.
Careful not to bend the pins!
-
Power ON your LameStation and open a demo application in the
demos/graphicsdirectory (I recommend SpriteDemo.spin) and download it to the LameStation into RAM.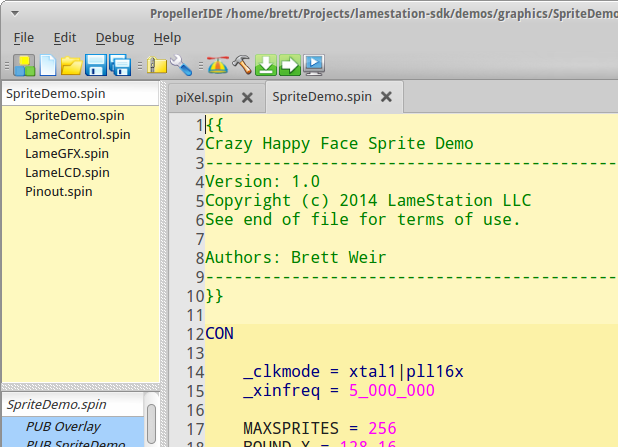
-
Your screen should now be displaying some graphics.

-
Remove the LCD as we still have one more thing to do before we attach it permanently. Pull it from near the header, otherwise you may put stress on the connector.