Step 2: The Iron
Tools Needed
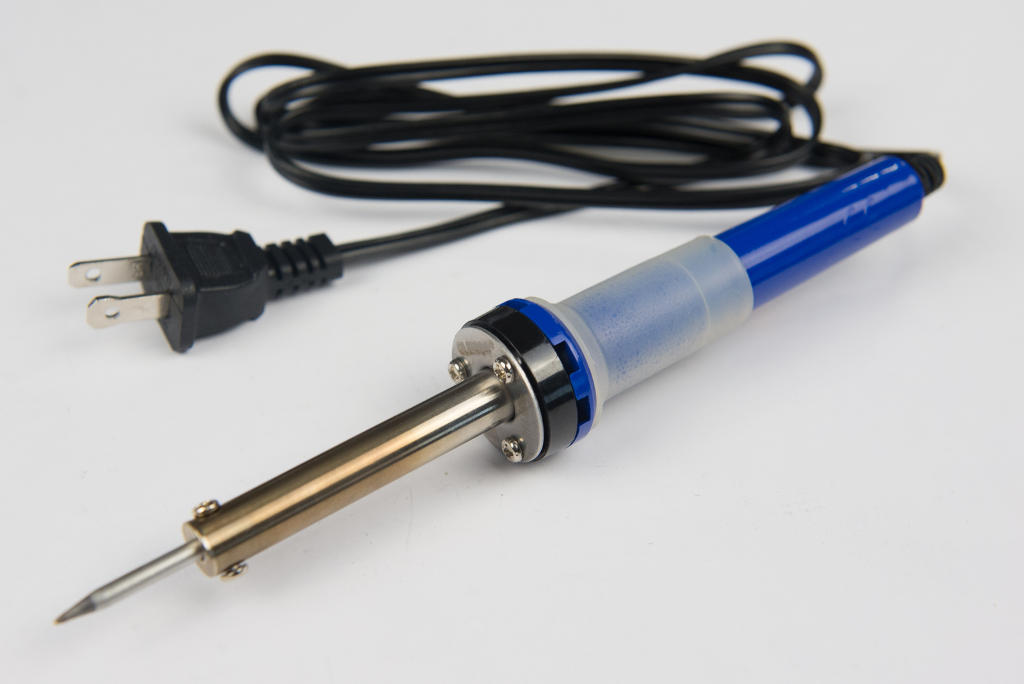
Soldering Iron
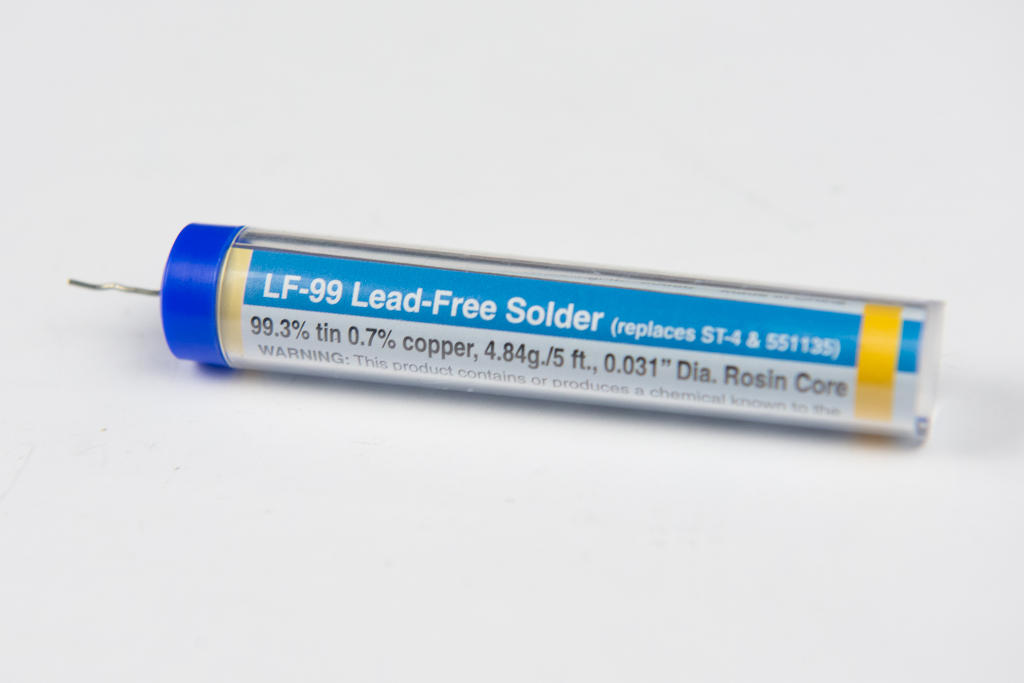
Solder
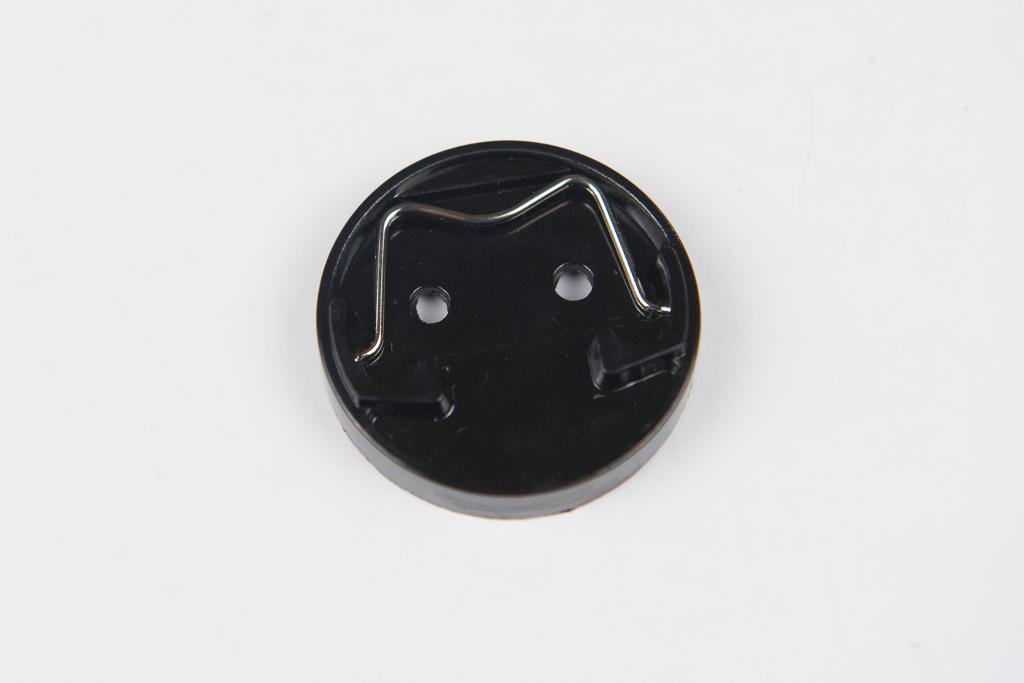
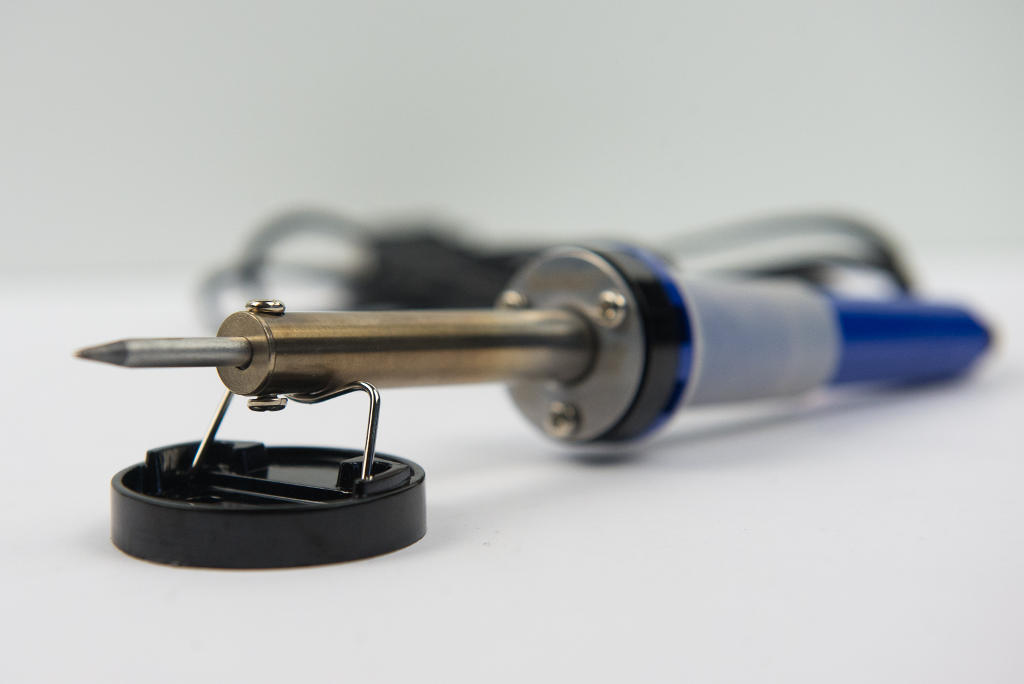
Solder Stand
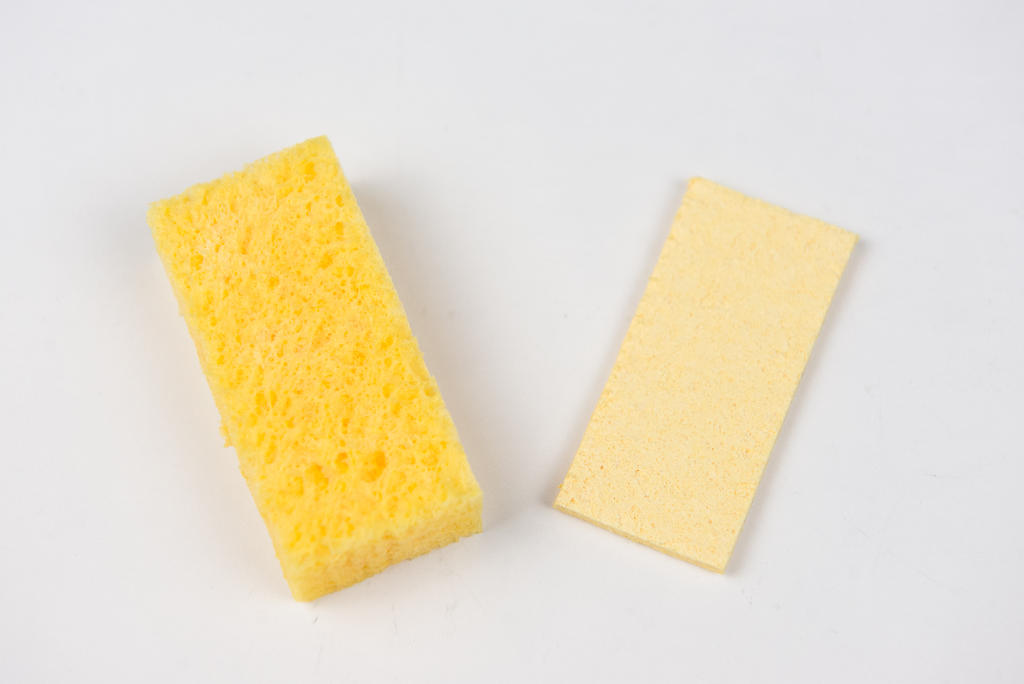
Sponge
Soldering Basics
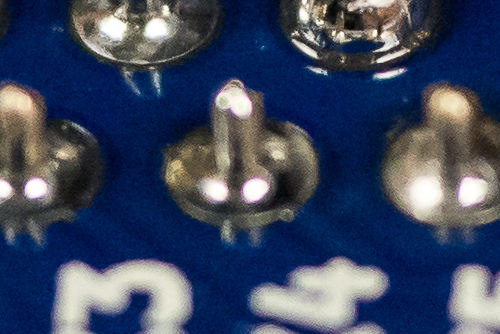
Solder Joints
Not Enough Solder
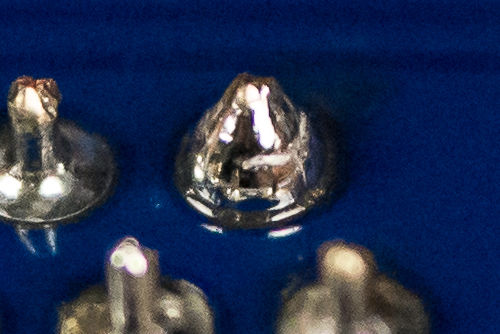
Too Much Solder
If your solder joint looks like a ball, you've added too much solder. This will get harder to heat up and more likely to spill over to its neighbors.
Cold Solder
Burned Joint
Lifted Pad
Solder Bridge
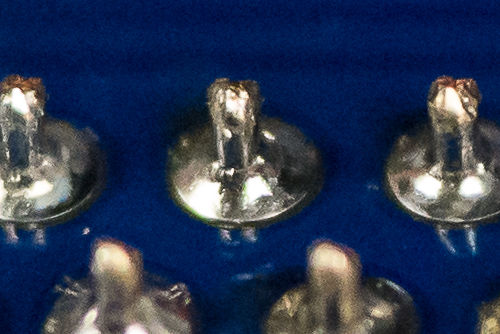
Juuuuuust Right
The perfect solder joint should be shaped like a Hershey's Kiss, but not anywhere near as delicious.
How hot is too hot?
The LameStation comes with lead-free solder, which has a higher melting point than leaded solder, so it will take more power to get it to melt.
Instructions
Unplug the iron when not in use
Wait until you are ready to plug it in, and remove after.
-
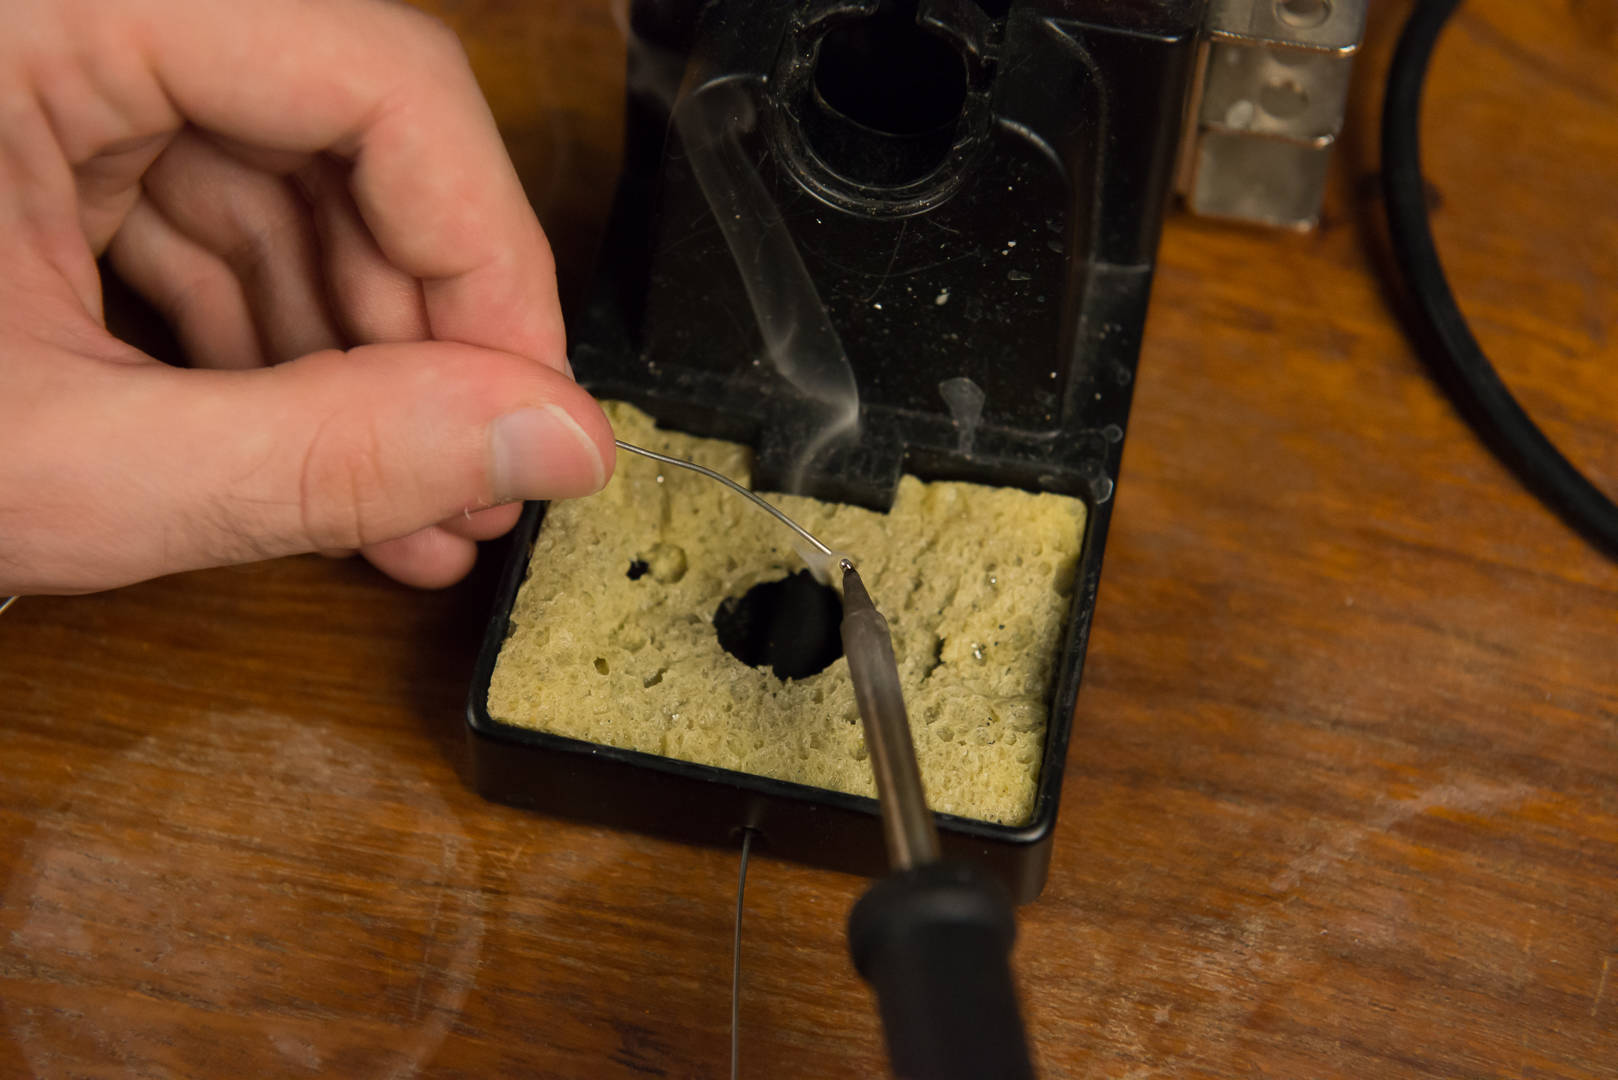
Dampen the sponge with some regular tap water. INSERT PICTURE OF WETTING THE SPONGE
-
Turn on the soldering iron. If your iron has a temperature control, you will want to set it to about 450°C for lead-free solder. Or if it doesn't, just plug it in and wait for it to heat up. This may take a couple minutes.
-
Press the tip of the soldering iron to the wet sponge briefly. If you hear a sizzle, you know that the iron is hot.
Never touch the iron's tip!
-
Melt some solder onto the tip of the iron. This is called tinning the tip. This cleans the tip and helps it to melt solder better.
-
Wipe the iron against the sponge to remove any excess. You only need to do it once or twice (but do it as many times as is fun!)

-
You are now ready to start soldering!