Step 8: Speaker
Here comes the awesome part, getting to hear your awesome LameStation synthesizer on your very own tiny, tin-can speaker. Your smartphone would be proud.
Tools Needed
- Soldering iron
- Tape
- Wire cutter
Parts Needed
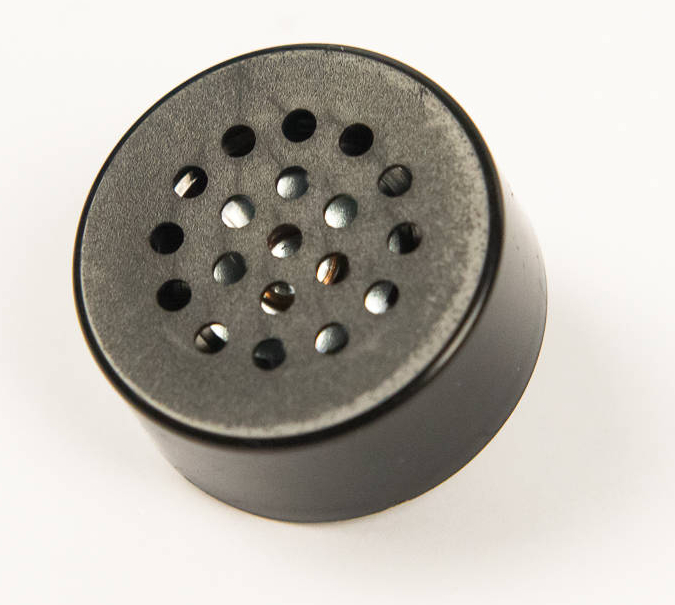
- 1 x 8Ω speaker
Instructions
-
Find the footprint for the speaker at SP1.

-
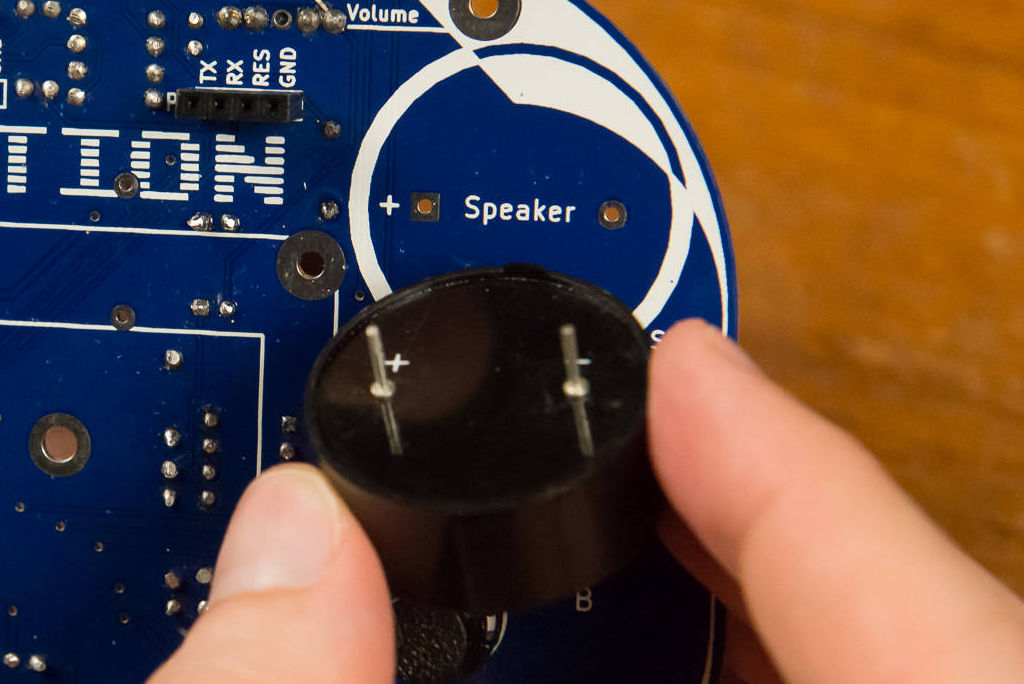
You probably noticed there's a plus sign. That's because it actually does matter which way a speakers installed, but only if more than one speaker is present. Otherwise it's not important. Good habits are important though, so you might as well install it by its correct orientation.
-
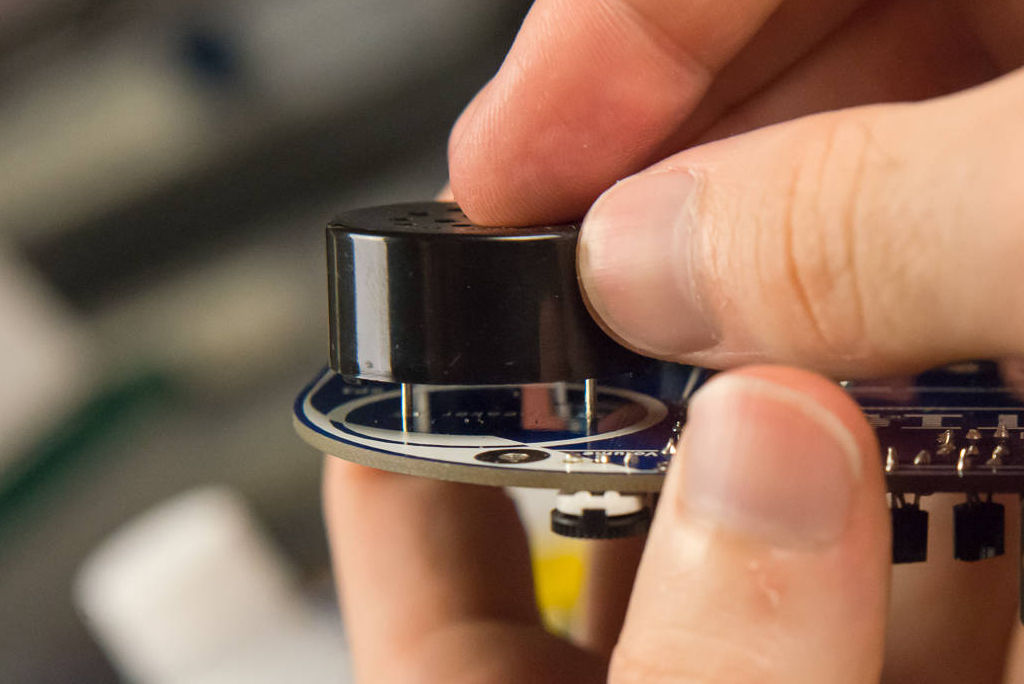
Install the speaker onto the board; it will fit loosely.
-
Wrap a good-sized piece of tape around the top of the speaker, making sure to adhere to both sides of the board. This part is important. The speaker tends to be loose in the board, and is very easy to install it so that it isn't flat against the board. Then again, this is alright, it won't hurt anything, but you don't want to complain about the mistake you made forever, so make sure.

-
Solder the part into place.
-
One of these pins is very easy to solder, because it's just connected to the audio jack. That's the square one.

-
However, the circular negative terminal is connected to ground in a relatively empty area of the board, so you may have trouble getting it to heat up. As before, just be patient. It will melt eventually.

-
-
Trim the excess leads with a pair of wire cutters.