Step 4: Joystick
Now it's time to install the joystick, this beautiful thing, to JOY1.
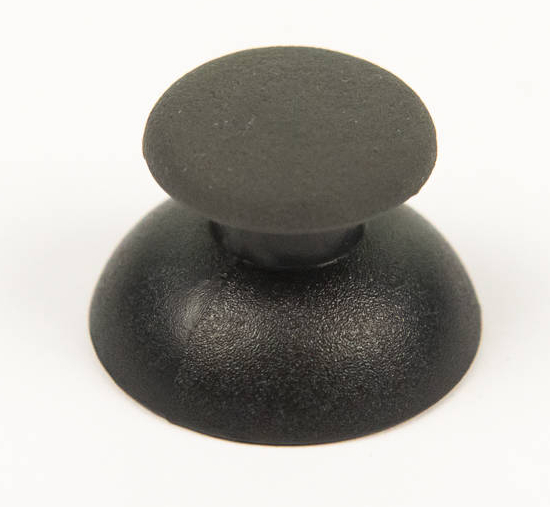
The joystick comes with a "thumbstick cap", which is big and annoying during assembly, so we will only attach it when it is needed.
Tools Needed
- Soldering iron
- Tape
Parts Needed
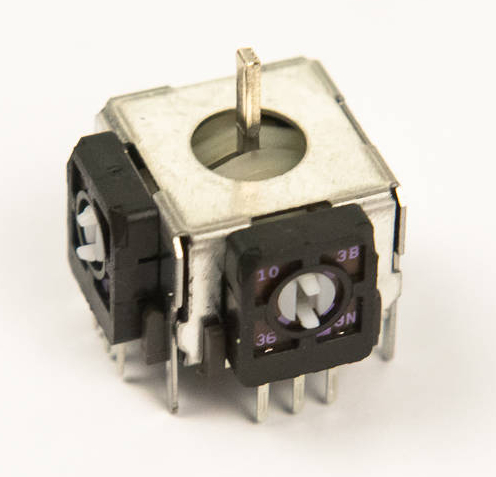
- 1 x Joystick
Instructions
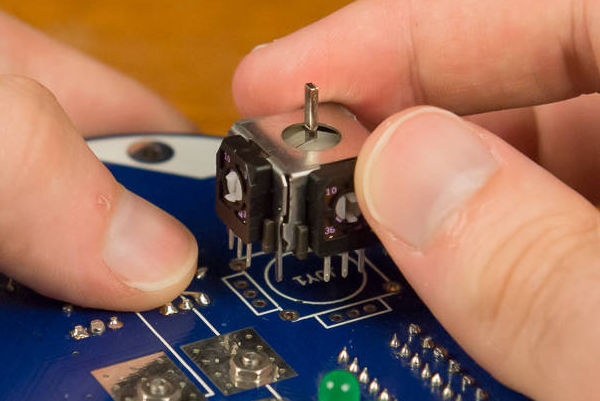
-
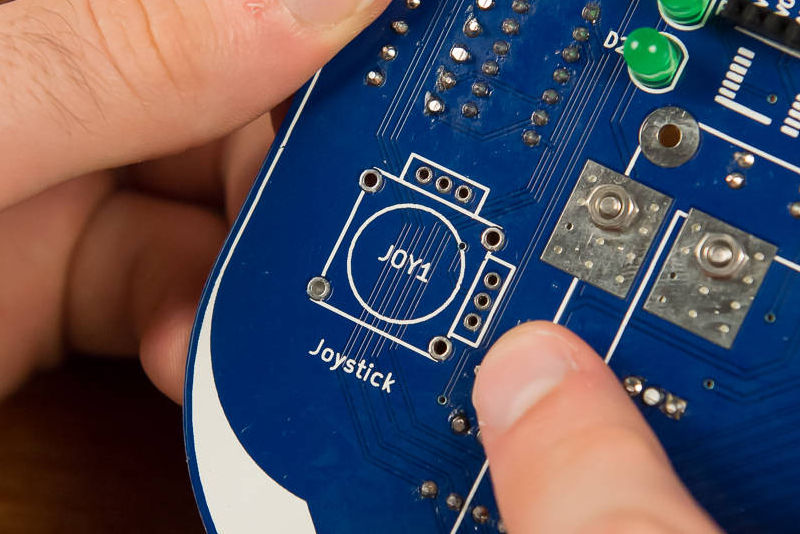
Being one of the larger components, it's footprint is fairly easy to find.
-
Install the joystick into the board.
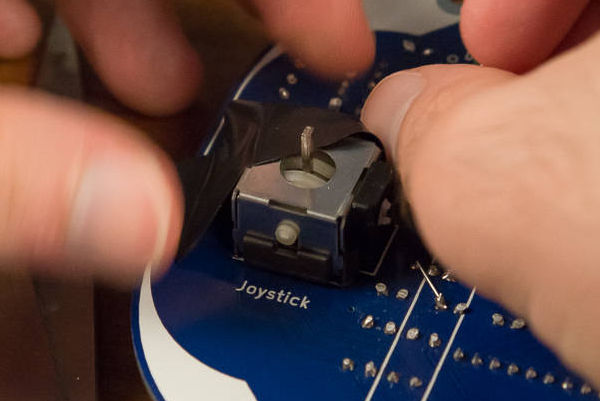
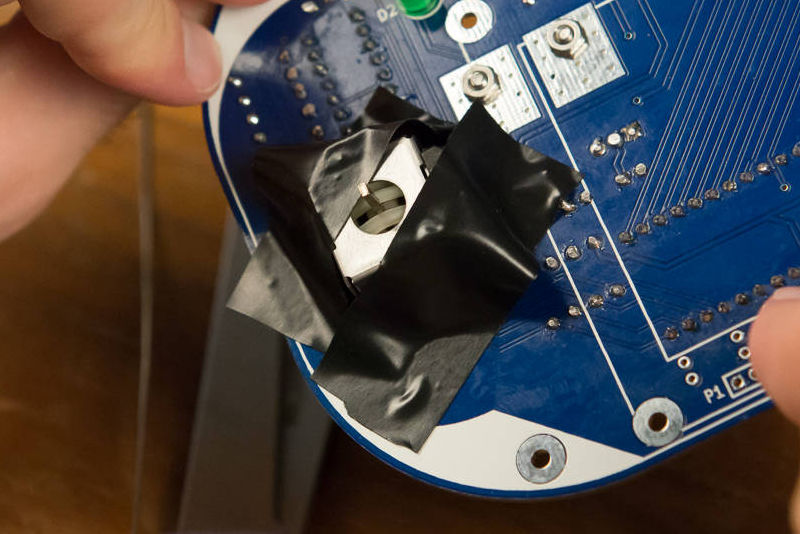
-
Tape the joystick into place. It will require two pieces of tape to hold it flat against the board.
-
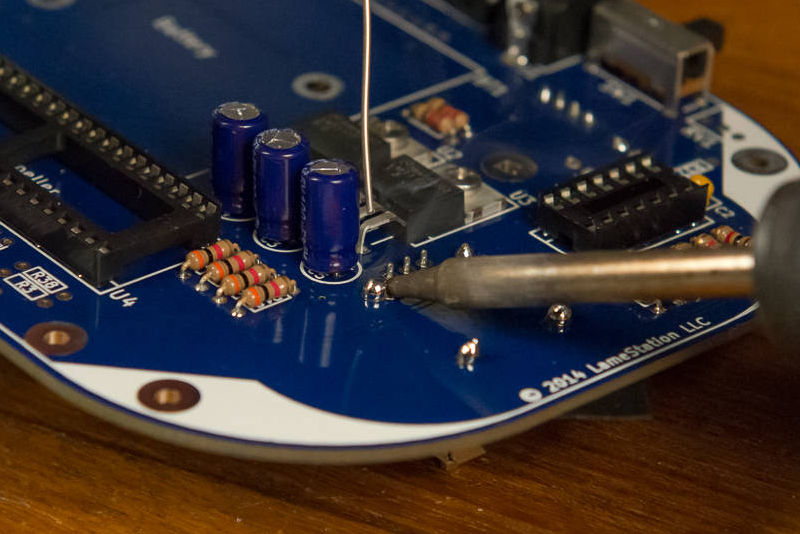
Solder the joystick into place. The four corner pins are connected to ground, in a very empty area of the board. This makes them unusually difficult to solder, but you can do it. Just be patient and let the joint heat up.
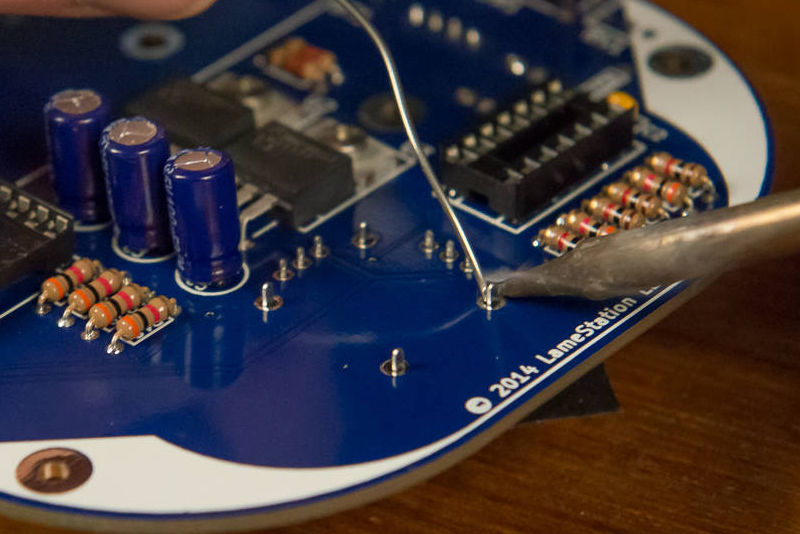
-
Finish the installation of the joystick by soldering the remaining pins.