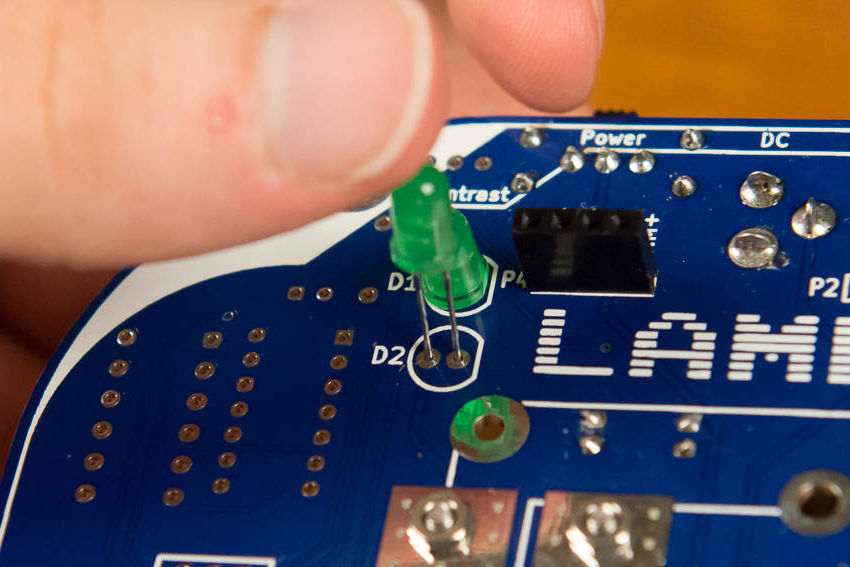
Step 5: Software LED
In this part, we will add an LED that can be controlled by the LameStation, giving us our earliest signs of life for the microcontroller.
This is possible because the LED is connected between a 3.3V power rail and a Propeller pin. When the Propeller sets the pin to 0V, there is voltage across the LED, which turns it on. How nifty is that!
Tools Needed
- Soldering iron
- Cutter
Parts Needed
- 1 x 220Ω resistor

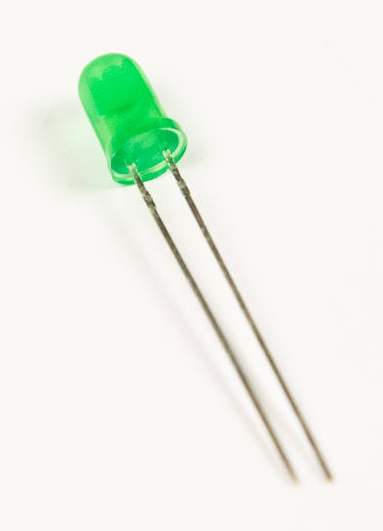
- 1 x green LED
Instructions
- Solder the 220Ω resistor into R27. This resistor sets the diode
voltage for the LED we are about to add.

- Install the green LED into D2.