Step 7: Testing The Controls
Now we need to verify that the buttons and joystick work as advertised. To do this, we must re-install the Propeller and install the newly added LM339 quad comparator. We've already verified the that the EEPROM works from before, so we're not going to do it again.
Parts Needed
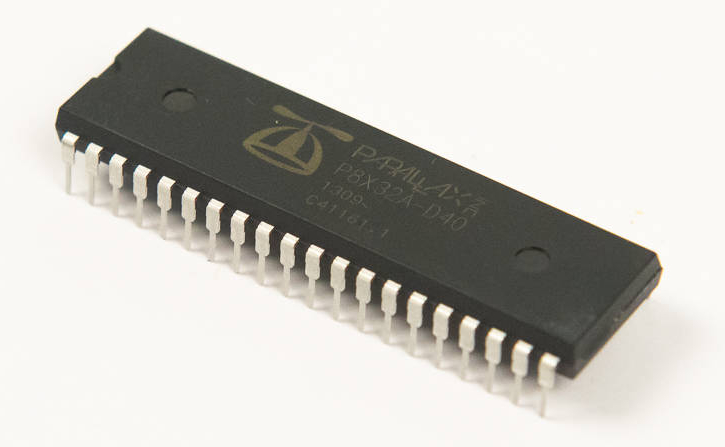
- 1 x Parallax Propeller
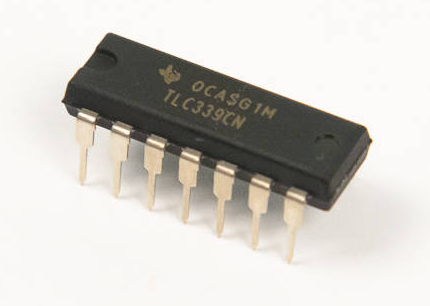
- 1 x LM339 Quad Comparator

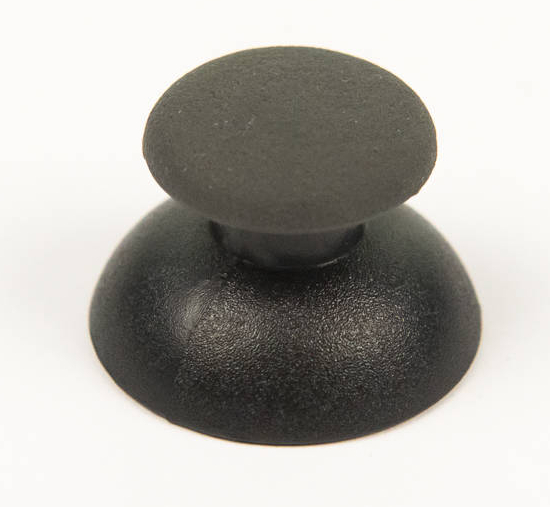
- 1 x Joystick Cap
Instructions
-
Start with a Power-On Test.
-
Install the Propeller back onto the board.

-
You will be installing the LM339 chip into the U1 socket. Like with the other ICs, it has a notch at one end to indicate which direction it should be installed.
-
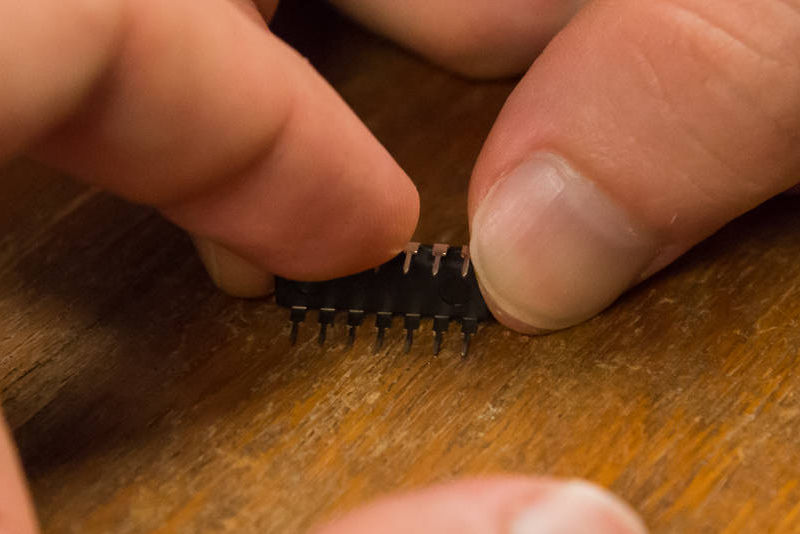
Like the Propeller, it's pins are spaced too far apart to fit into the narrow IC socket, so the pins need to be bent very slightly. However, this chip is quite a bit smaller than the Propeller, so it's not as easy.
-
Once you've got the fit down, install the chip onto the board.

-
Do another power-on test with these both chips installed.
-
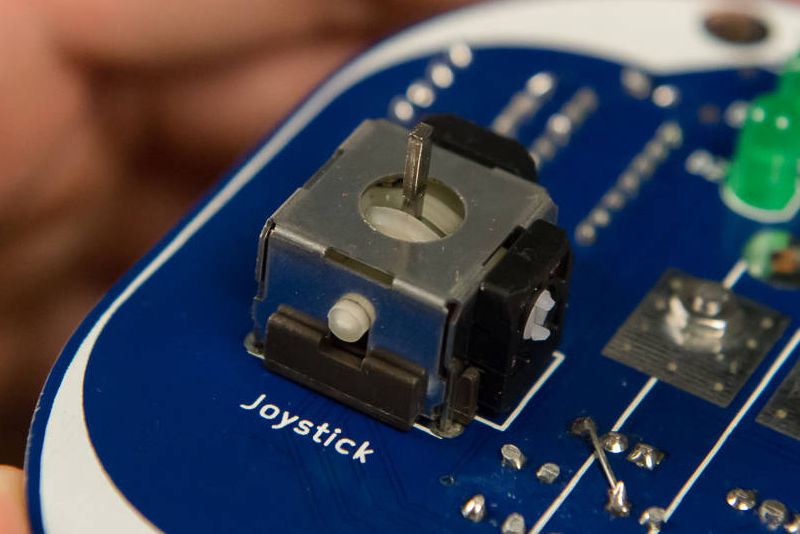
We will be attaching the thumbstick cap temporarily for testing. Notice the shape of the hole on the underside of the cap.
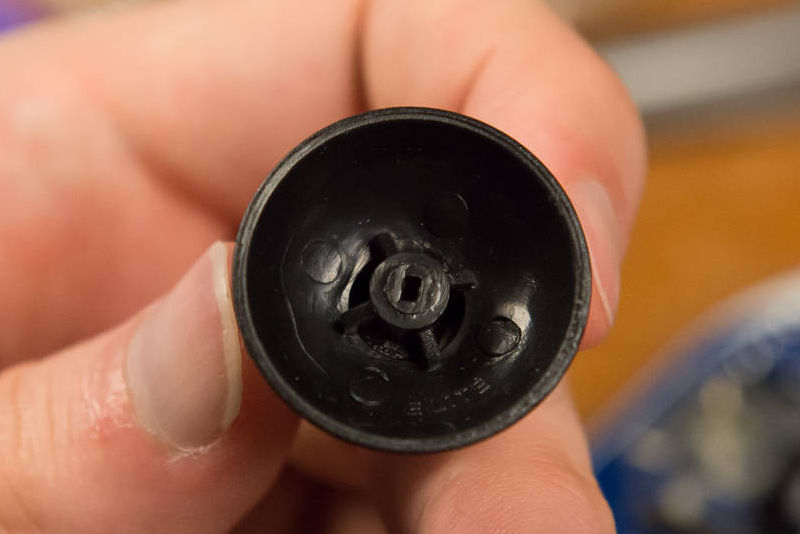
It fits the joystick in only one direction.
-
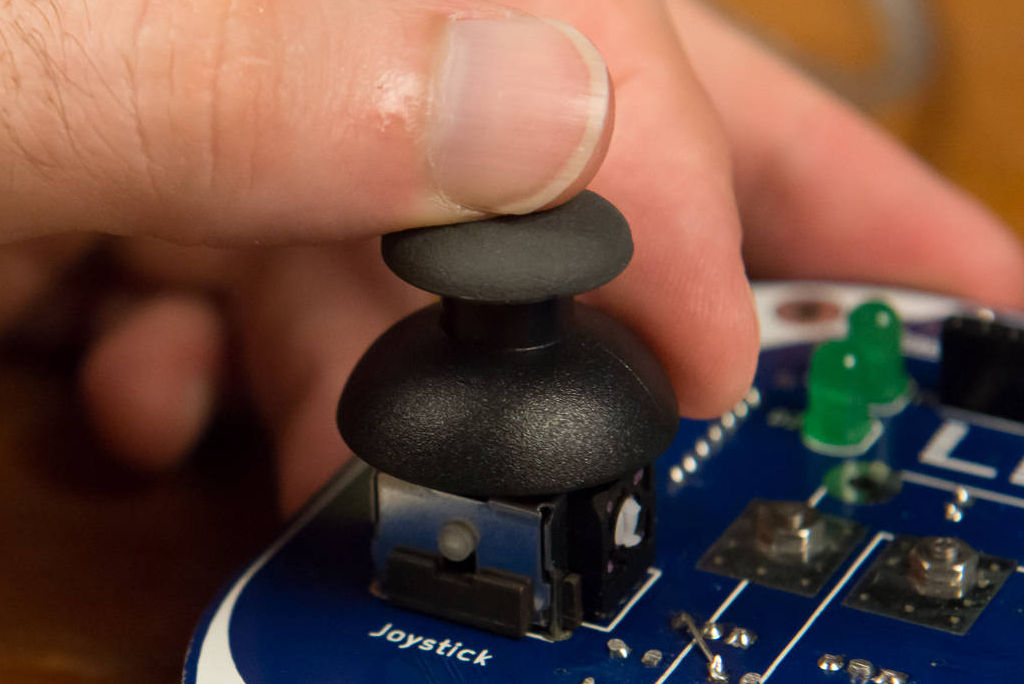
Attach the thumbstick cap to the joystick.
-
To test that you installed the controls correctly, we will load the
TakeControl.spinapp. You can load it in the same way that you did previously with the ImAlive.spin app (see Step 5: Testing Code Download). It can be found indemos/assembly/in the project folder. This program flashes an LED whenever any button is pressed or the joystick is moved.