Step 4: Programming Connectors
Parts Needed

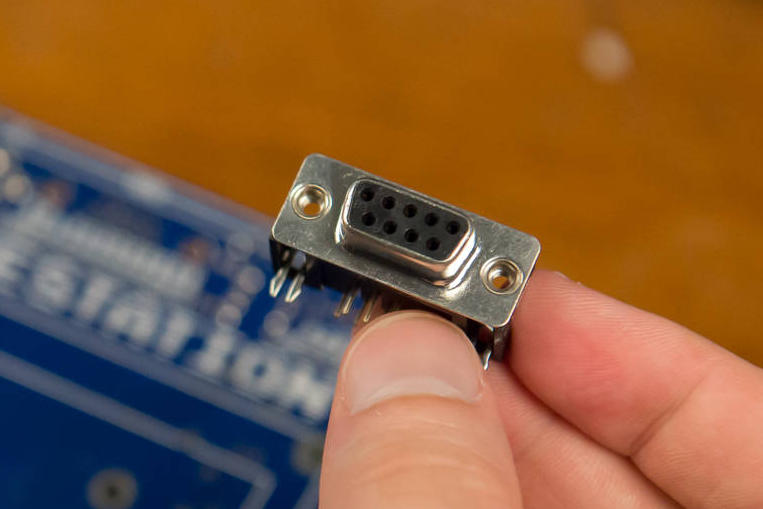
- 1 x 9-pin serial connector
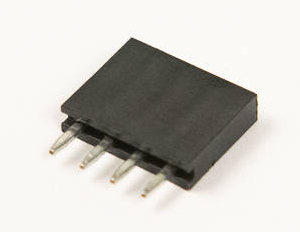
- 1 x 4-pin socket
Instructions
-
Now it's time to install the 9-pin serial connector to J3.
-
Find the J3 socket on the back of the board and install the connector. Make sure you place it on the correct side of the board.
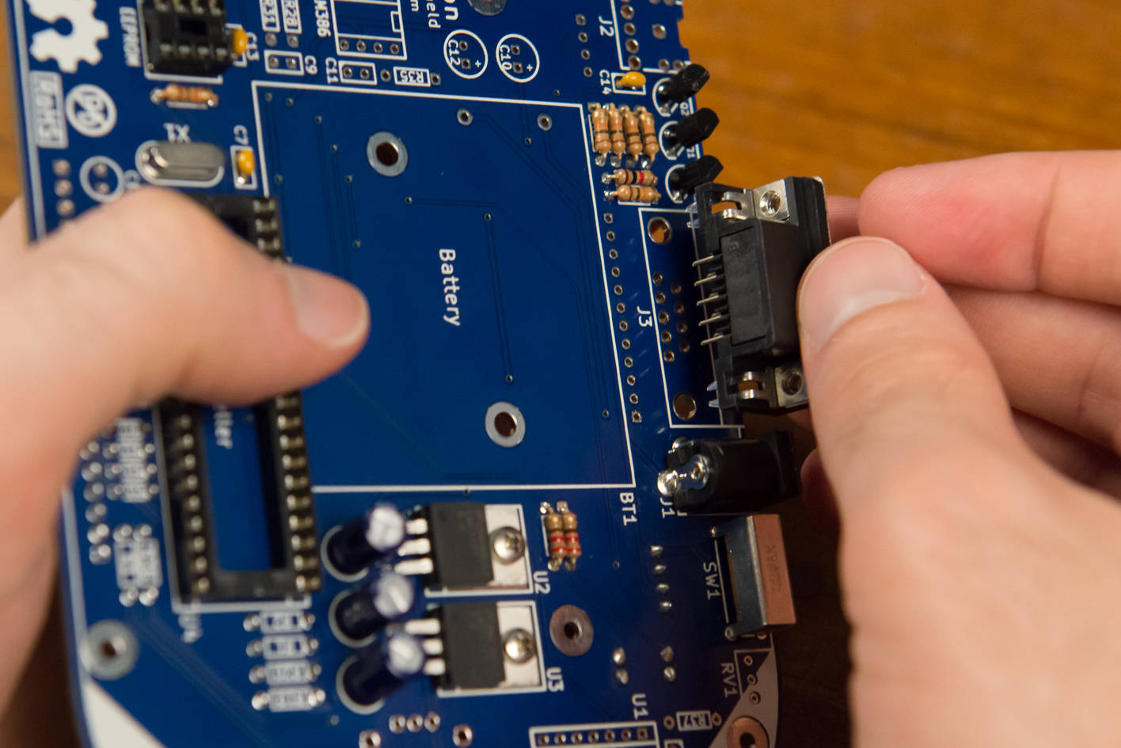
It will snap into place.

-
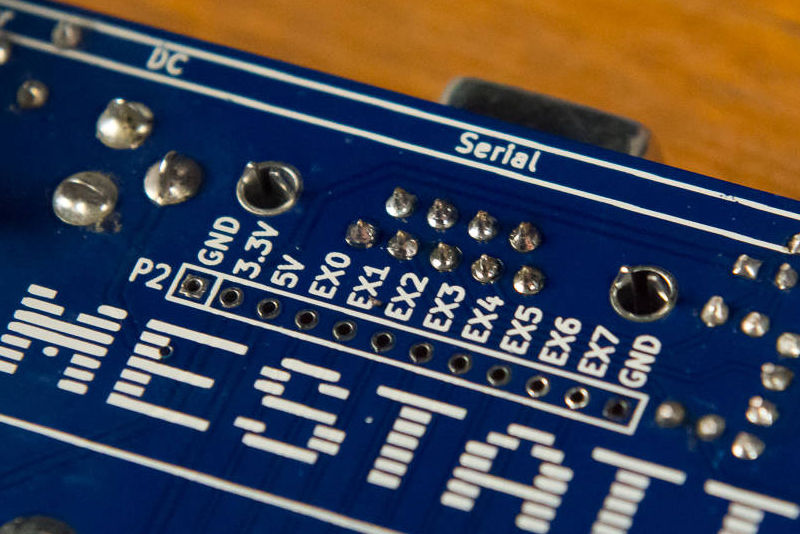
Solder the 9 lead pins in the center of the component.
-
The snapping connectors do not need to be soldered, but it helps make the connector more sturdy and resistant to damage in case, say, you drop your LameStation on the floor while still connected to your desktop (true story!). So go ahead and solder them too.
-
Solder the 4-pin socket to P3.
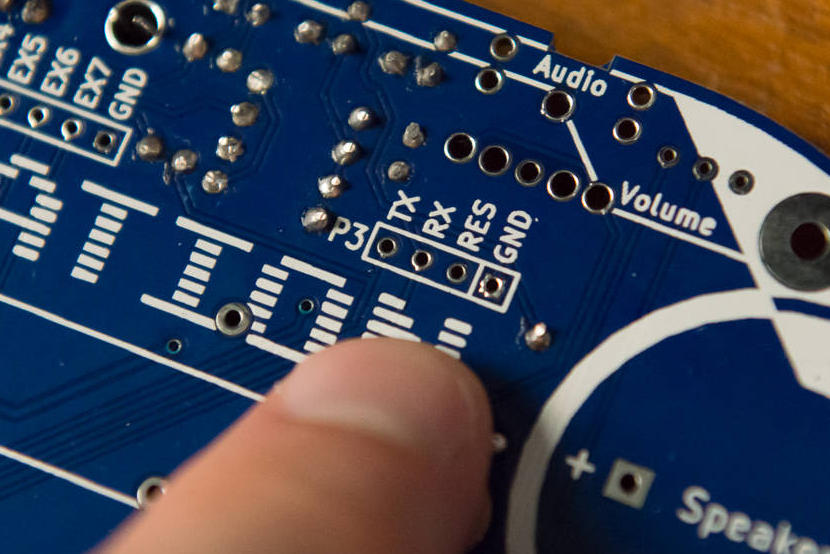
With this connector installed, you can use the Prop Plug to program the LameStation instead of the serial port.
Check Yourself
- How many ways can the LameStation be programmed?