Step 5: Resistor
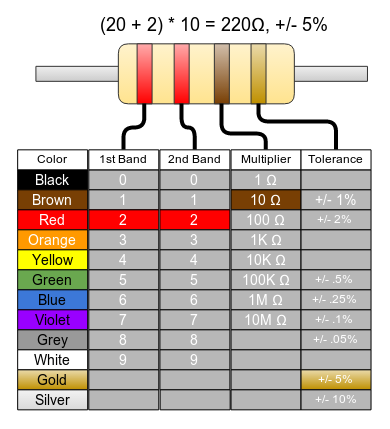
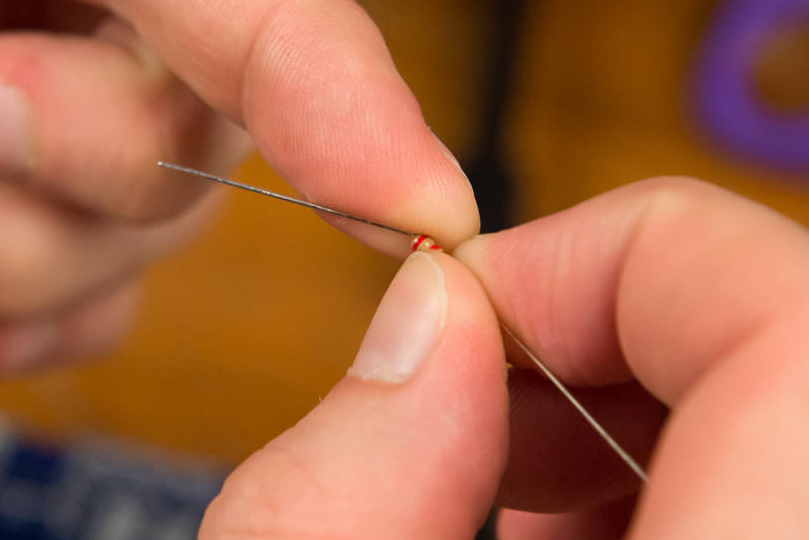
You will be installing a 220Ω resistor into R24. How do you know it's 220Ω? It's simple: just read the color codes!
Color codes are a not-so-intuitive way to determine the value of a resistor.
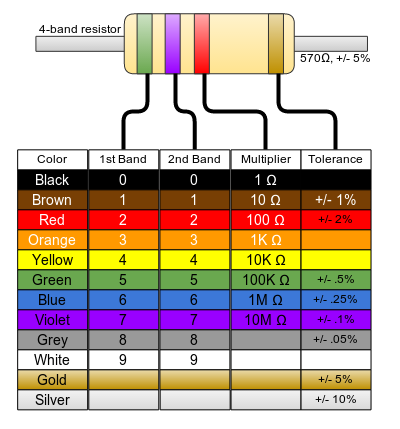
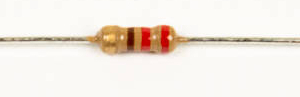
So let's check out the resistor in question. How do we know it's 220?
Tools Needed
- Soldering iron
- Cutters
Parts Needed
- 1 x 220Ω resistor
Instructions
-
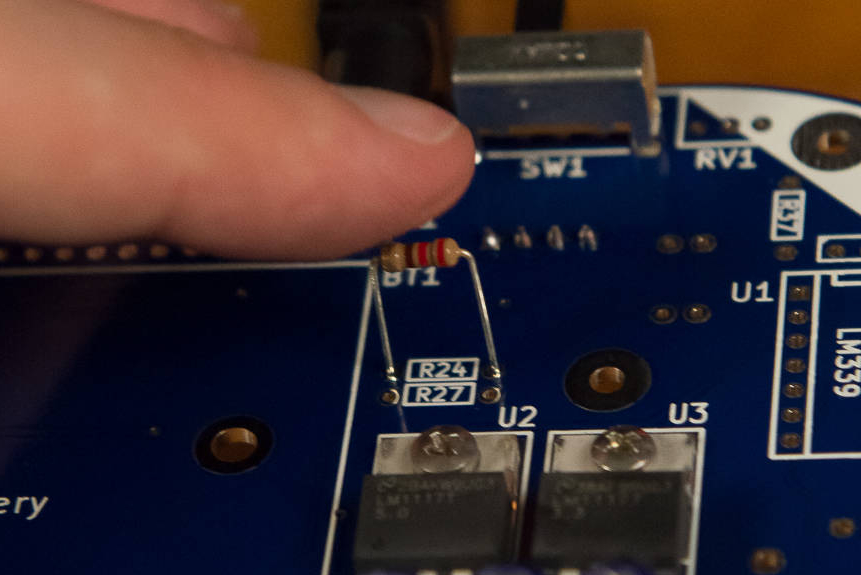
Find the footprint on the board.

-
Bend the leads as closely as possible at the base, so you can make sure it fits on the board without having to force it.


-
Insert the resistor into R24.
Resistors are NOT polarized
It doesn't matter which direction you install the resistor; it will work just the same.*
*That said, it would look nice to have them all facing the same direction...
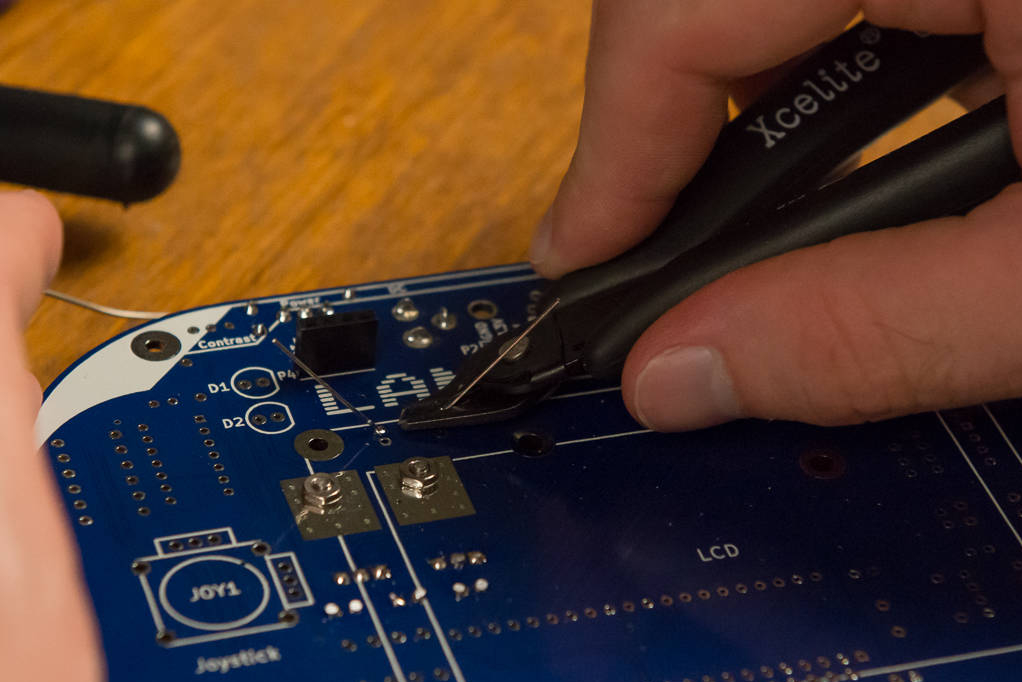
-
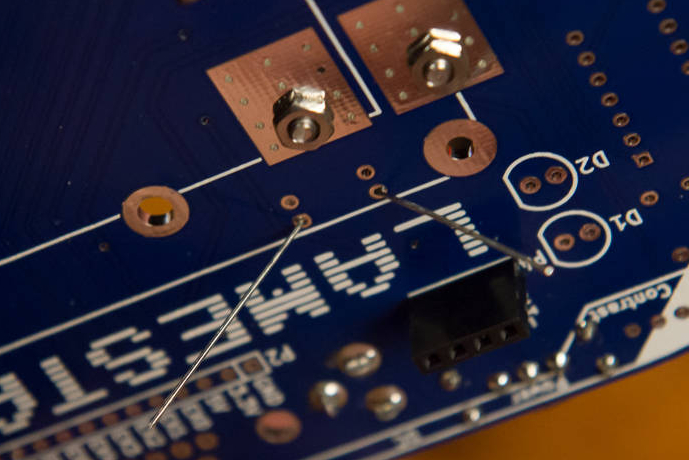
Bend the leads outward to help hold the resistor against the board.
-
Solder the resistors into place.

-
Trim the leads so that they are flush with the surface.