Step 6: System Test
At this point, it's probably a good idea to seat the EEPROM and Propeller in their socket to verify that they are functional.
The EEPROM comes pre-programmed with the ImAlive.spin program
(/demos/assembly/ImAlive.spin), which blinks the software-controlled
LED to show the Propeller is indeed alive.
Parts Needed
- 1 x Parallax Propeller

- 1 x EEPROM
Instructions
- First, conduct a power-on test to verify there are no catastrophic problems.
Installing The Propeller
-
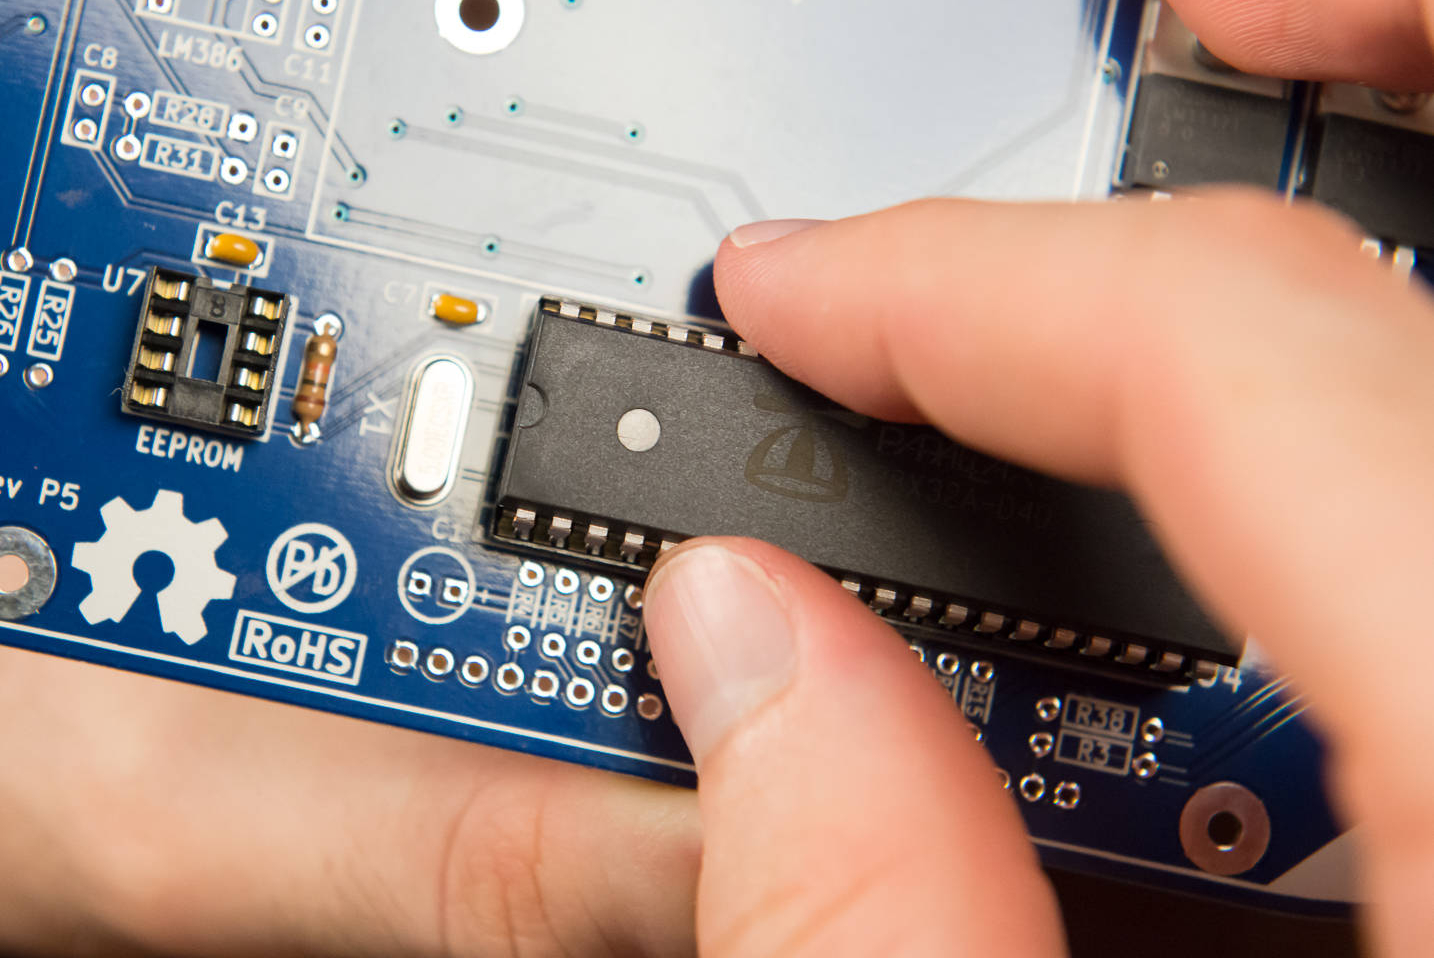
You will be installing the Propeller microcontroller onto the board. This is where all the magic happens. The orientation of the Propeller, like all ICs, matters. Look for a little tab at one end of the chip.
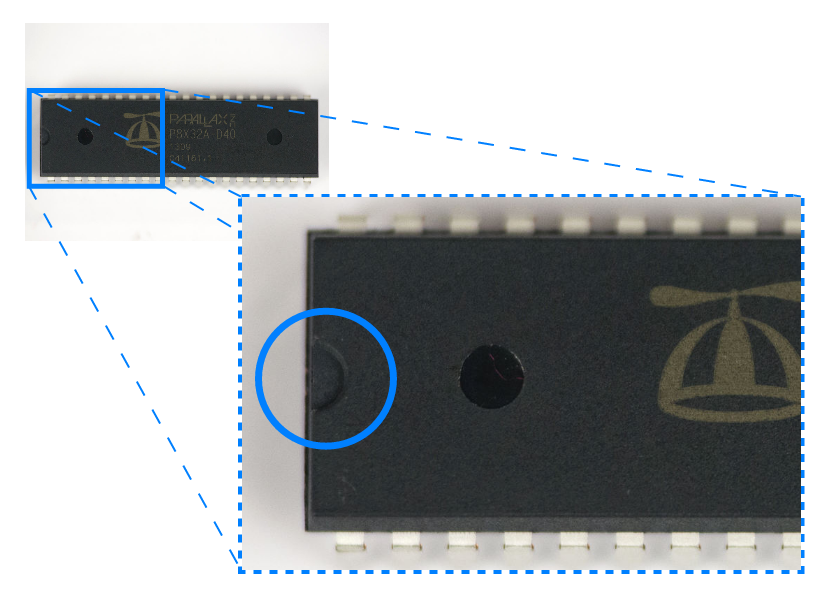
As with the socket, this notch lines up with the notch on the board itself.
-
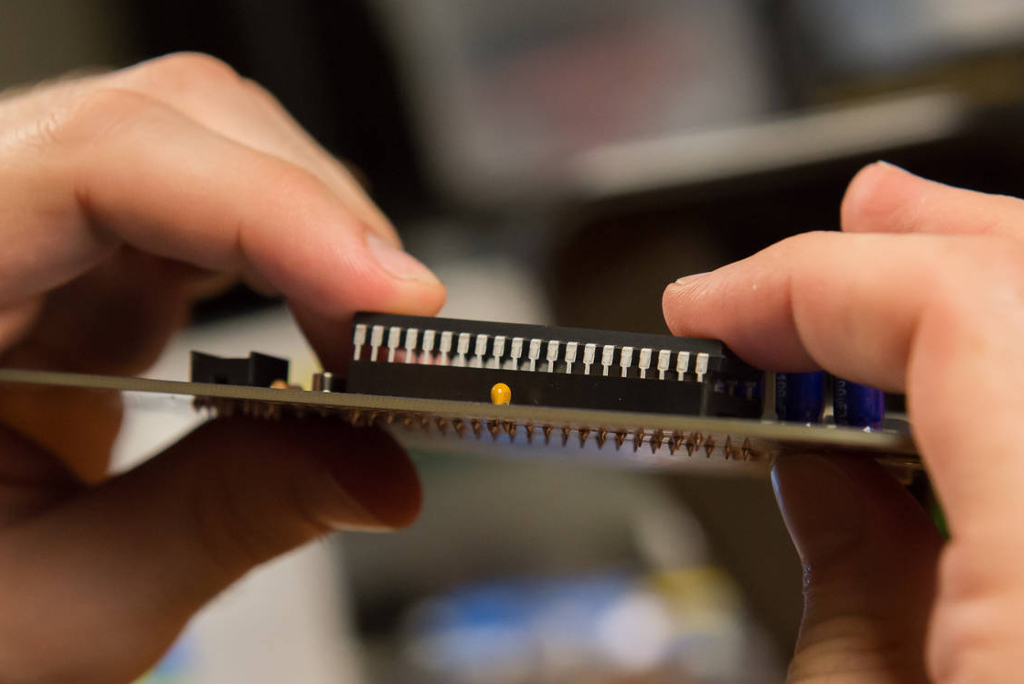
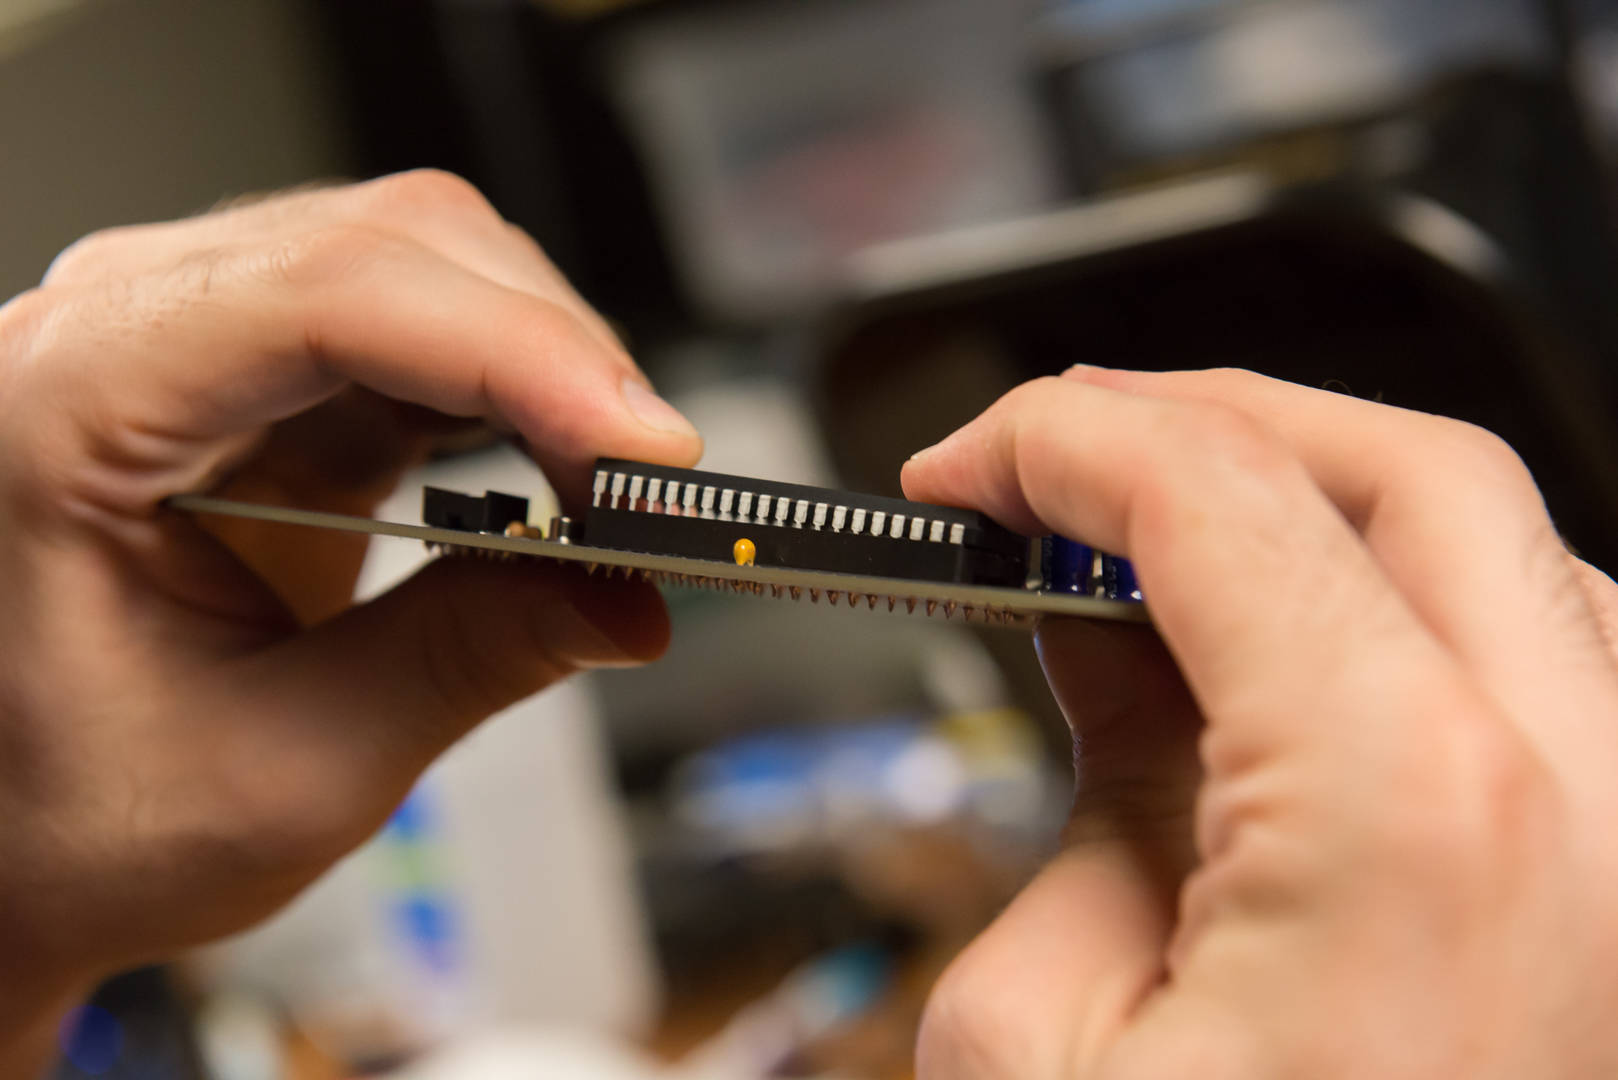
You will discover pretty quickly that IC pins never seem to line up exactly with the socket; they are too wide. This is pretty much always the case, so the pins must be bent very slightly to straighten them out.
Don't bend the pins too much!
If you bend IC pins too many times, they will break off, and then you will need a new chip.

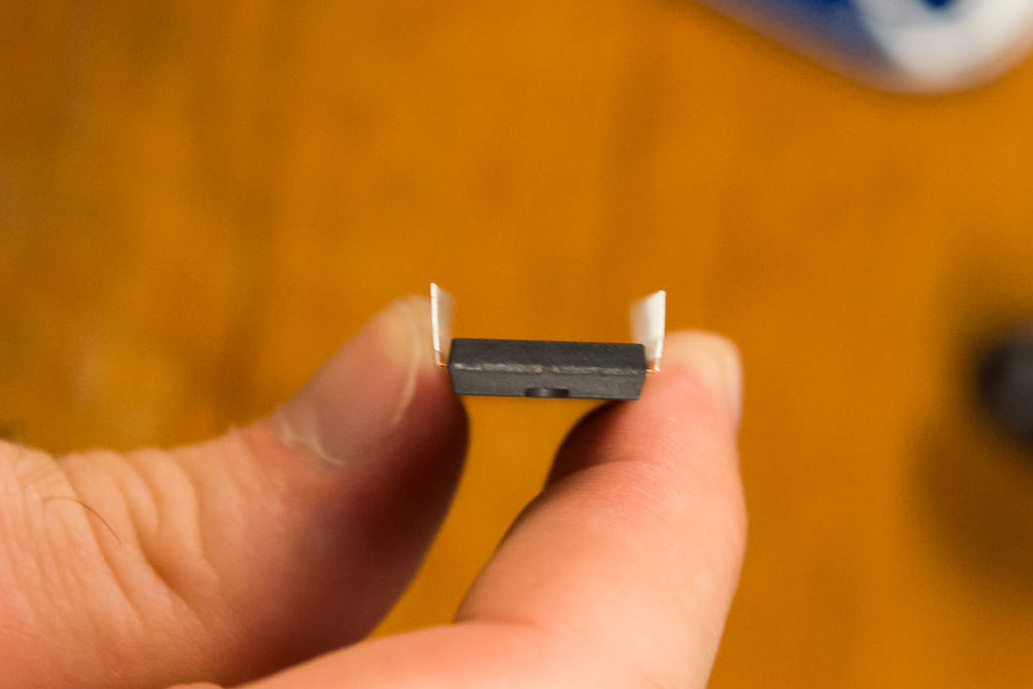
For large ICs like the Propeller, the easiest way to do this is to press one long edge of the IC against the table, and roll the pins gently inward, until they are perpendicular with the IC body (the black part).

-
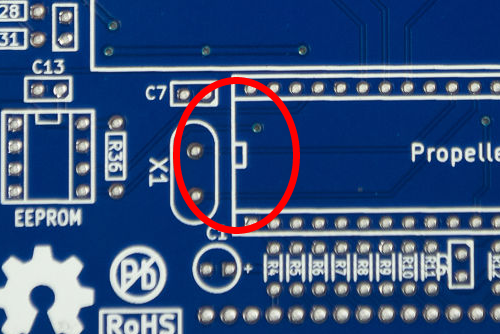
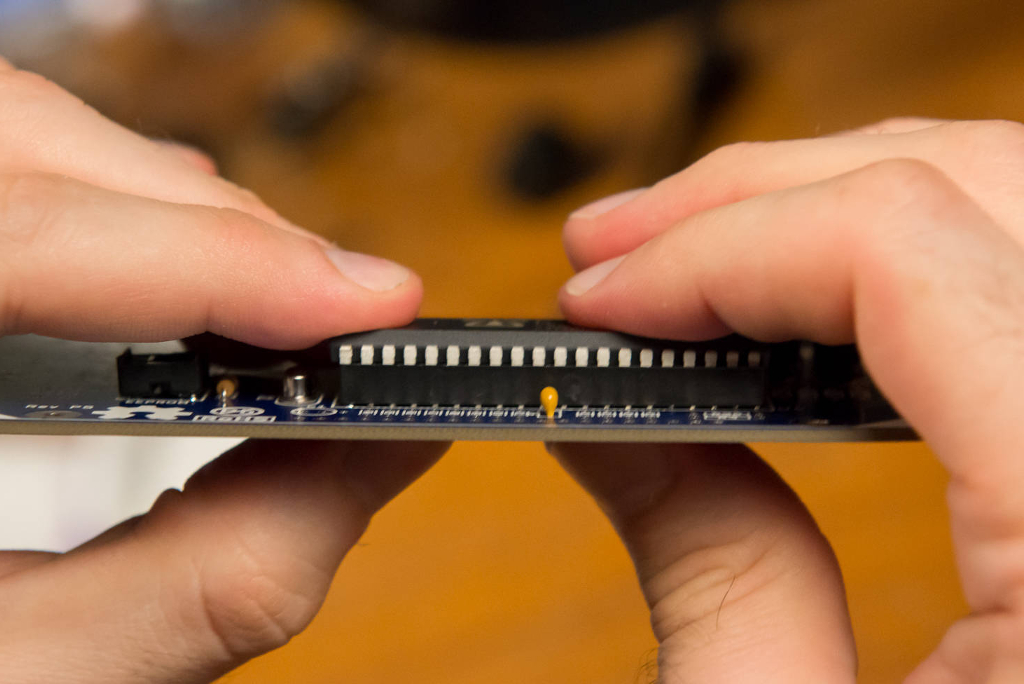
Seat the Propeller onto the 40-pin DIP socket, with the IC tab on the end closest to the crystal. Don't wedge it in too tight, because you'll need to remove it again later.
Don't install an IC backwards
Doing so usually results in frying the chip completely.
It's best to gradually press the IC on either side. If you apply a lot of pressure to seat all pins at once, but come to find your pins are misaligned, you may bend and break many pins all at once, so don't!
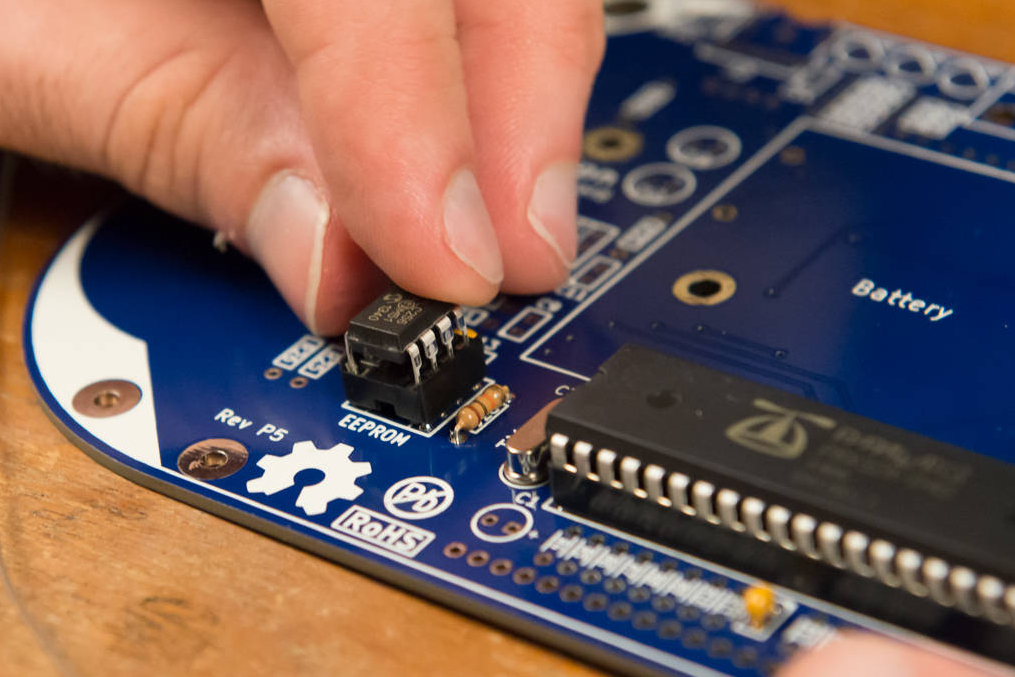
Installing the EEPROM
-
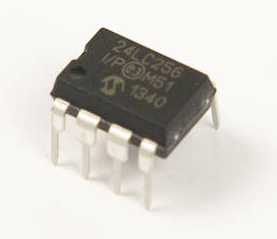
Remove the EEPROM from the foam. The EEPROM and the audio amplifier look nearly exactly the same, except for what's written on them. This is because many types of circuits can be put into the same form factors. The EEPROM will have the number
24LC256printed on the top. -
Seat the EEPROM in a similar way. However, the chip is too small to lay the edge flat on the table easily. It's easier to bend them by hand, being careful to line up the pins very carefully.
-
The EEPROM comes pre-programmed with the ImAlive.spin program, which can be found in the SDK. Moments after you successfully power on the board, you will see the D2 LED blinking; you can call this happiness.

Troubleshooting
Did you remember to install the Propeller IC?
Doh! The Propeller itself is the heart of the system. Without it, nothing else does anything.
Is the IC seated flat on the board, and not loose?
You gotta make sure to seat the Propeller gently but firmly on the board, all the way into its socket.
Are any of the Propeller IC pins bent?
These definitely need to be fixed and quick. If they get bent too much, they will weaken and fall off.