Step 7: Power-On Test
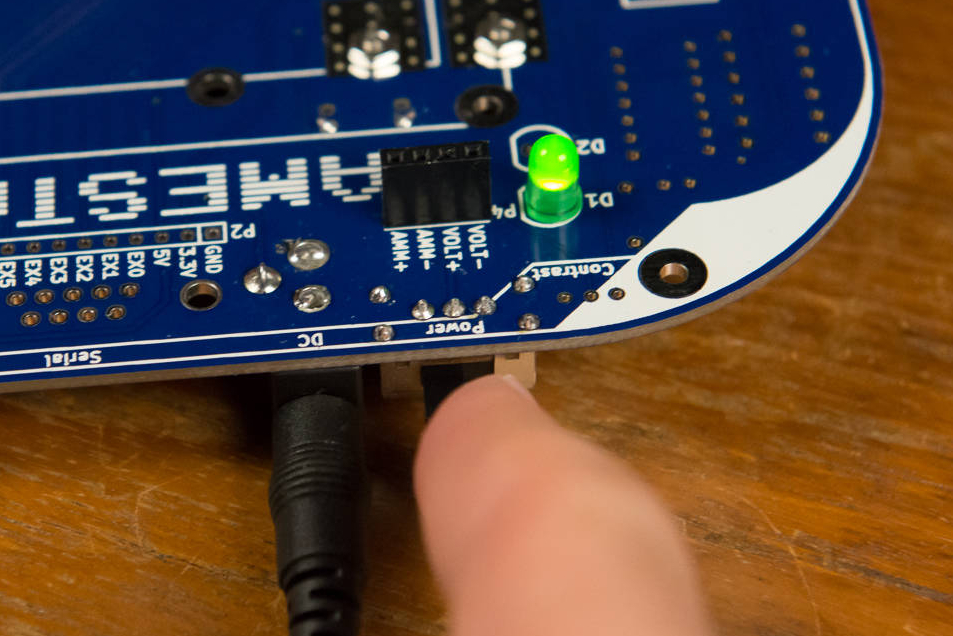
The green LED does more than just tell you the board is on. It is also an early warning system that you've done something horribly wrong. If you've accidentally soldered something that has created a short in the system, the green LED will not turn on, since no power can get to it. This may be the only warning you have.
You will do a power-on test at the end of every section as the first test you do. This way, if you do have a short, you will know that it is the result of something you've done during the current section, allowing you to troubleshoot it more easily.
Parts Needed
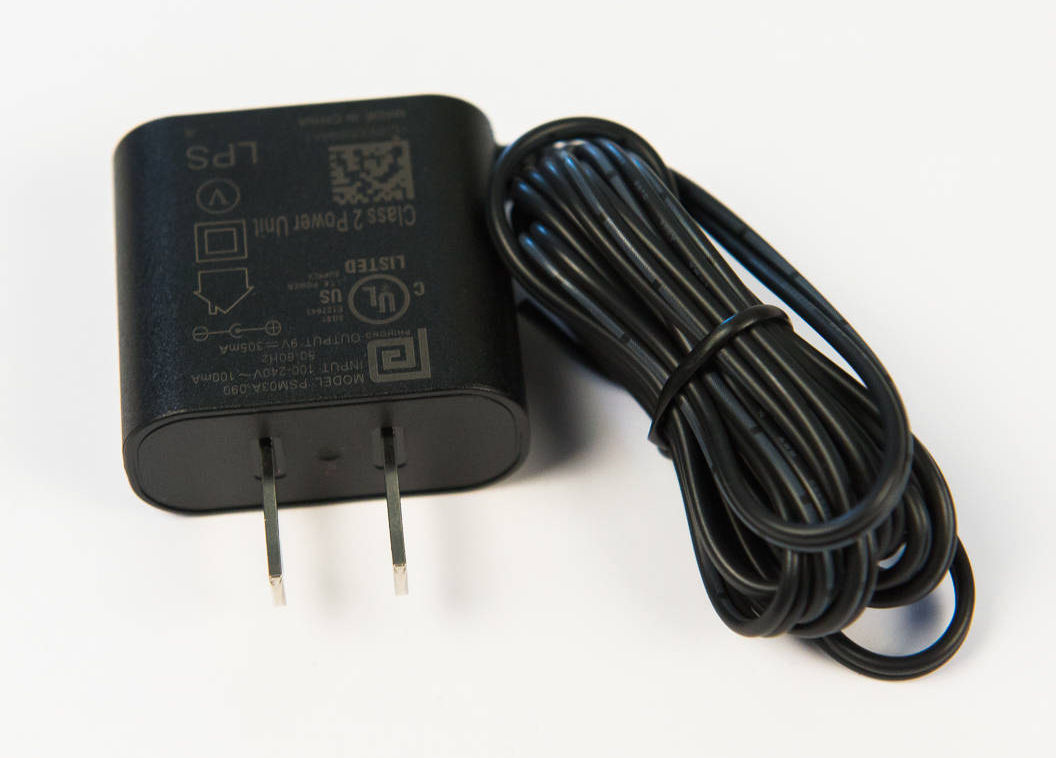
- 1 x power adapter
Instructions
When you add a component, the first thing you should do when powering on the board is watch that green LED. This will reduce the chance of something being fried on the board as a result of your mishap.
-
Plug the power adapter into an available wall outlet.
-
Plug the other end to the DC jack in J1.
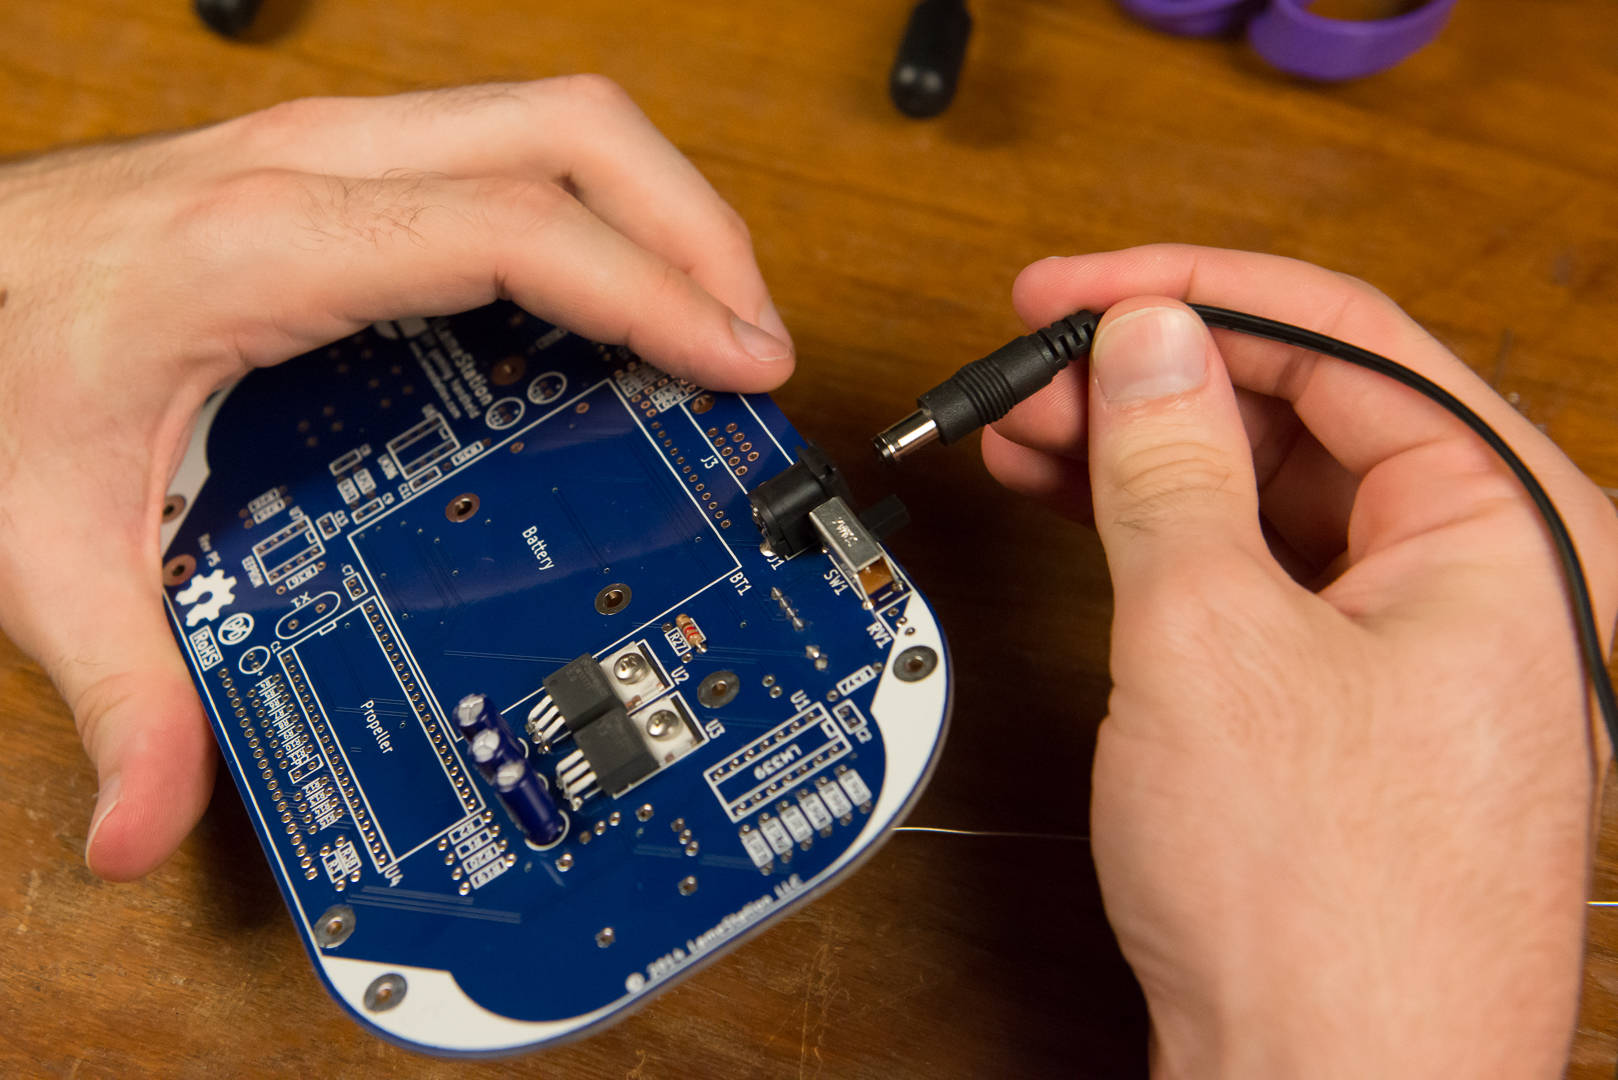
-
Plug it in, plug it in. Flip the power switch to the left to turn on the board. If the light turns on, everything is good to go!
Turn off immediately if the LED doesn't come on
This completes the power subsystem, with the exception of the battery pack, which will be connected later.